
How to Bleed a Fuel System After Replacing a Fuel Tank
After installing a new fuel tank, it is important to bleed the fuel system before driving the vehicle. Air can enter the fuel lines during tank replacement, which may cause hard starting, rough idle, hesitation, misfires, or unstable fuel delivery.
This guide explains how to bleed a fuel system after replacing a fuel tank on both gasoline vehicles with electric fuel pumps and diesel engines that require manual priming.
Before bleeding the system, make sure the tank itself is not cracked, corroded, or leaking. Browse our plastic fuel tank catalog or check fitment-specific options for Audi, BMW E38, Isuzu Trooper, Mercedes-Benz G-Class, and Mitsubishi Pajero.
Before You Start: Check the Fuel Tank and Connections
Before bleeding the fuel system, inspect the new fuel tank, filler neck, fuel hoses, clamps, and line connections. Any loose fitting or small leak can prevent the system from building pressure and may cause repeated starting problems.
- Check that the tank is securely mounted.
- Make sure all hoses and clamps are properly connected.
- Inspect the filler neck and fuel line connections for leaks.
- Confirm that the fuel pump wiring and fuel level sender are connected.
- Add enough fuel before priming the system.
If the original metal tank was damaged by rust or corrosion, consider replacing it with a durable plastic replacement fuel tank designed for your vehicle model.
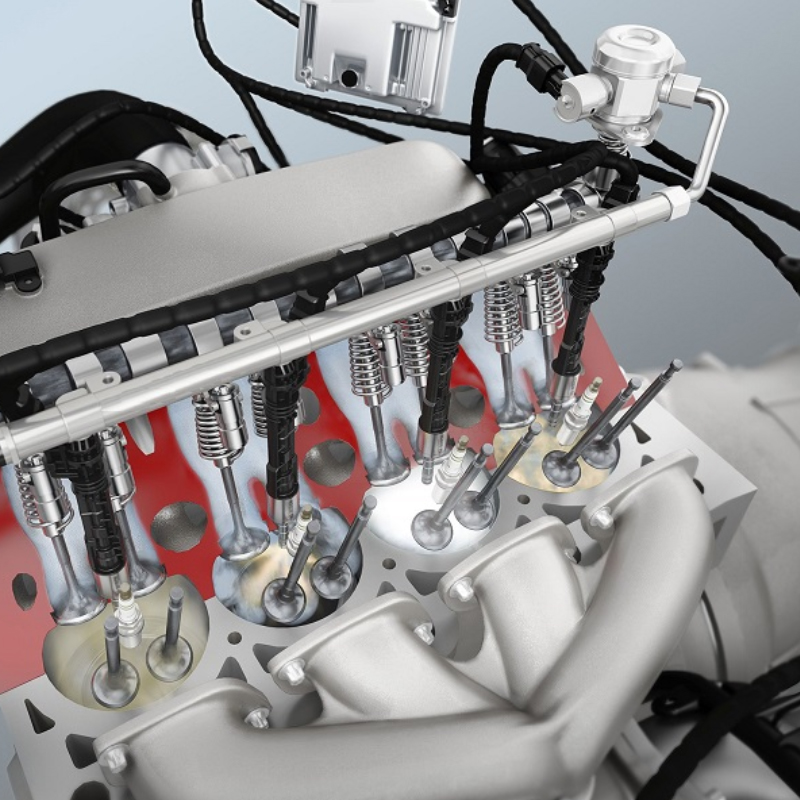
How to Bleed a Gasoline Fuel System with an Electric Fuel Pump
Step 1 — Fill the Fuel Tank
Minimum Fuel Level
Fill the tank with at least 5 liters of fuel so the pump can draw fuel reliably and pressurize the system. If your current tank is cracked, corroded, or leaking, replace it before attempting priming to avoid pressure loss and fuel delivery problems.
Step 2 — Turn the Ignition to ON, But Do Not Start
Priming the Fuel Pump
Turn the ignition key to the ON position without starting the engine. You should hear the fuel pump humming, which means the system is building pressure and pushing trapped air out of the lines.
Step 3 — Wait 2–3 Seconds
System Pressurization
Allow the pump to run for a few seconds until it stops automatically. In most vehicles, this indicates that target pressure has been reached.
Step 4 — Repeat the Ignition Cycle
Ignition Cycling
Turn the ignition OFF, wait 5–10 seconds, and switch it ON again. Repeat this cycle 3–4 times so the fuel lines fill completely and any remaining air can be expelled.
Step 5 — Start the Engine
Initial Start
Start the engine. It may idle roughly or stall briefly as the last pockets of air clear from the system. If that happens, repeat the ignition cycle and try again.
Step 6 — Stabilize the Engine
Adjust RPMs
If idle remains uneven, lightly press the accelerator to raise RPMs and help the engine clear the remaining air more quickly.
Pro Tip
If the fuel pump does not run at all, inspect the fuel pump fuse and fuel pump relay before moving on to more advanced diagnostics.
If your vehicle still has fuel delivery problems after bleeding the system, the issue may be related to a damaged tank, blocked pickup, leaking line, or incorrect fitment. Browse our plastic fuel tank range to find replacement tanks by vehicle model.
How to Bleed a Diesel Fuel System After Tank Replacement
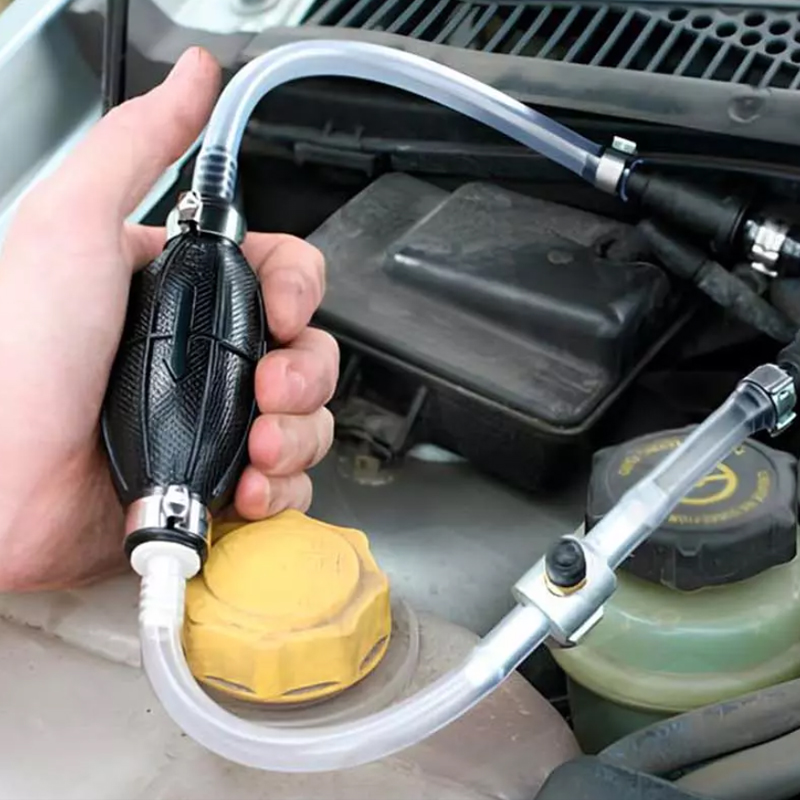
Step 1 — Locate and Use the Manual Primer
Manual Pumping
Find the manual priming pump, usually a rubber bulb or lever near the fuel filter housing. Pump it until resistance increases, which indicates that fuel has reached the filter and air is being displaced.
Step 2 — Bleed Air from the Fuel Filter
Bleeder Screw Method
If the filter housing has a bleeder screw, open it slightly while pumping until clean, bubble-free fuel comes out. Tighten the screw securely once the flow is steady.
Step 3 — Bleed the Injectors, If Required
Injector Line Bleeding
Some diesel engines also require loosening the injector line nuts slightly. Crank the engine in short bursts until fuel flows from the loosened fittings without visible air, then tighten the fittings again.
Step 4 — Start the Engine
Final Check
Start the engine and let it idle. If it stalls or hesitates, repeat the priming and bleeding steps until it runs smoothly and consistently.
Important
Use caution when loosening fuel fittings. Diesel fuel under pressure can spray and cause injury. Always wear gloves and eye protection.
Diesel systems are sensitive to air leaks. If the engine keeps stalling after bleeding, inspect the tank outlet, fuel lines, filter housing, and primer pump. For older diesel vehicles, a corroded metal tank can often be replaced with a model-specific plastic diesel fuel tank.
General Safety and Maintenance Tips
- Make sure all fuel hoses and connections are properly attached and free from leaks before priming or starting the engine.
- Work in a well-ventilated area away from open flames, sparks, and hot surfaces.
- If the engine still will not start after several attempts, check the fuel pump, associated fuses, and relays.
- Dispose of used fuel filters and contaminated fuel according to local regulations.
- After installation, inspect the tank, filler neck, and line connections again after the first successful start to confirm there are no leaks.
Popular Replacement Plastic Fuel Tanks
If you are bleeding the fuel system after installing a new tank, or if your original tank is leaking, rusted, or cracked, you may need a model-specific replacement. Popular applications include:
- Audi 100 / Quattro / S4 / S6 / V8 plastic fuel tank
- BMW E38 plastic fuel tank
- Isuzu Trooper plastic fuel tank
- Mercedes-Benz G-Class diesel plastic fuel tank
- Mitsubishi Pajero plastic fuel tank
FAQ: Bleeding a Fuel System After Fuel Tank Replacement
Do you have to bleed the fuel system after replacing a fuel tank?
Yes. Air can enter the fuel lines when the tank is removed or replaced. Bleeding or priming the system helps restore fuel pressure and prevents hard starting, rough idle, hesitation, and stalling.
How many times should I cycle the ignition after replacing a fuel tank?
For many gasoline vehicles with an electric fuel pump, cycling the ignition 3–4 times is usually enough to prime the system. Turn the ignition to ON, wait a few seconds, switch it OFF, and repeat before starting the engine.
Why will my car not start after replacing the fuel tank?
Common causes include air in the fuel lines, low fuel level, a disconnected fuel pump connector, a blown fuel pump fuse, a faulty relay, loose hoses, or a leak that prevents the system from building pressure.
How do you bleed a diesel fuel system after replacing the tank?
Most diesel systems require manual priming at the fuel filter or primer pump. Some engines may also require opening a bleeder screw or carefully bleeding injector lines until bubble-free fuel appears.
Can a leaking fuel tank cause air in the fuel system?
Yes. A damaged tank, loose connection, cracked hose, or leaking fitting can allow air into the fuel system and cause starting problems, stalling, or inconsistent fuel delivery.
Should I replace a rusted metal fuel tank with a plastic fuel tank?
A plastic replacement fuel tank can be a good option for vehicles with rusted or corroded metal tanks, especially when a model-specific replacement is available for proper fitment.
Conclusion
Bleeding the fuel system after replacing a fuel tank is an important final step that helps prevent hard starting, rough idle, hesitation, stalling, and uneven fuel delivery. Gasoline vehicles usually need several ignition cycles to let the electric fuel pump pressurize the lines, while diesel engines often require manual priming and, in some cases, injector bleeding.
If you are replacing a leaking, cracked, or rusted tank, browse our plastic fuel tank catalog or check model-specific options such as the Audi plastic fuel tank, BMW E38 fuel tank, Isuzu Trooper fuel tank, Mercedes-Benz G-Class diesel tank, and Mitsubishi Pajero tank.
