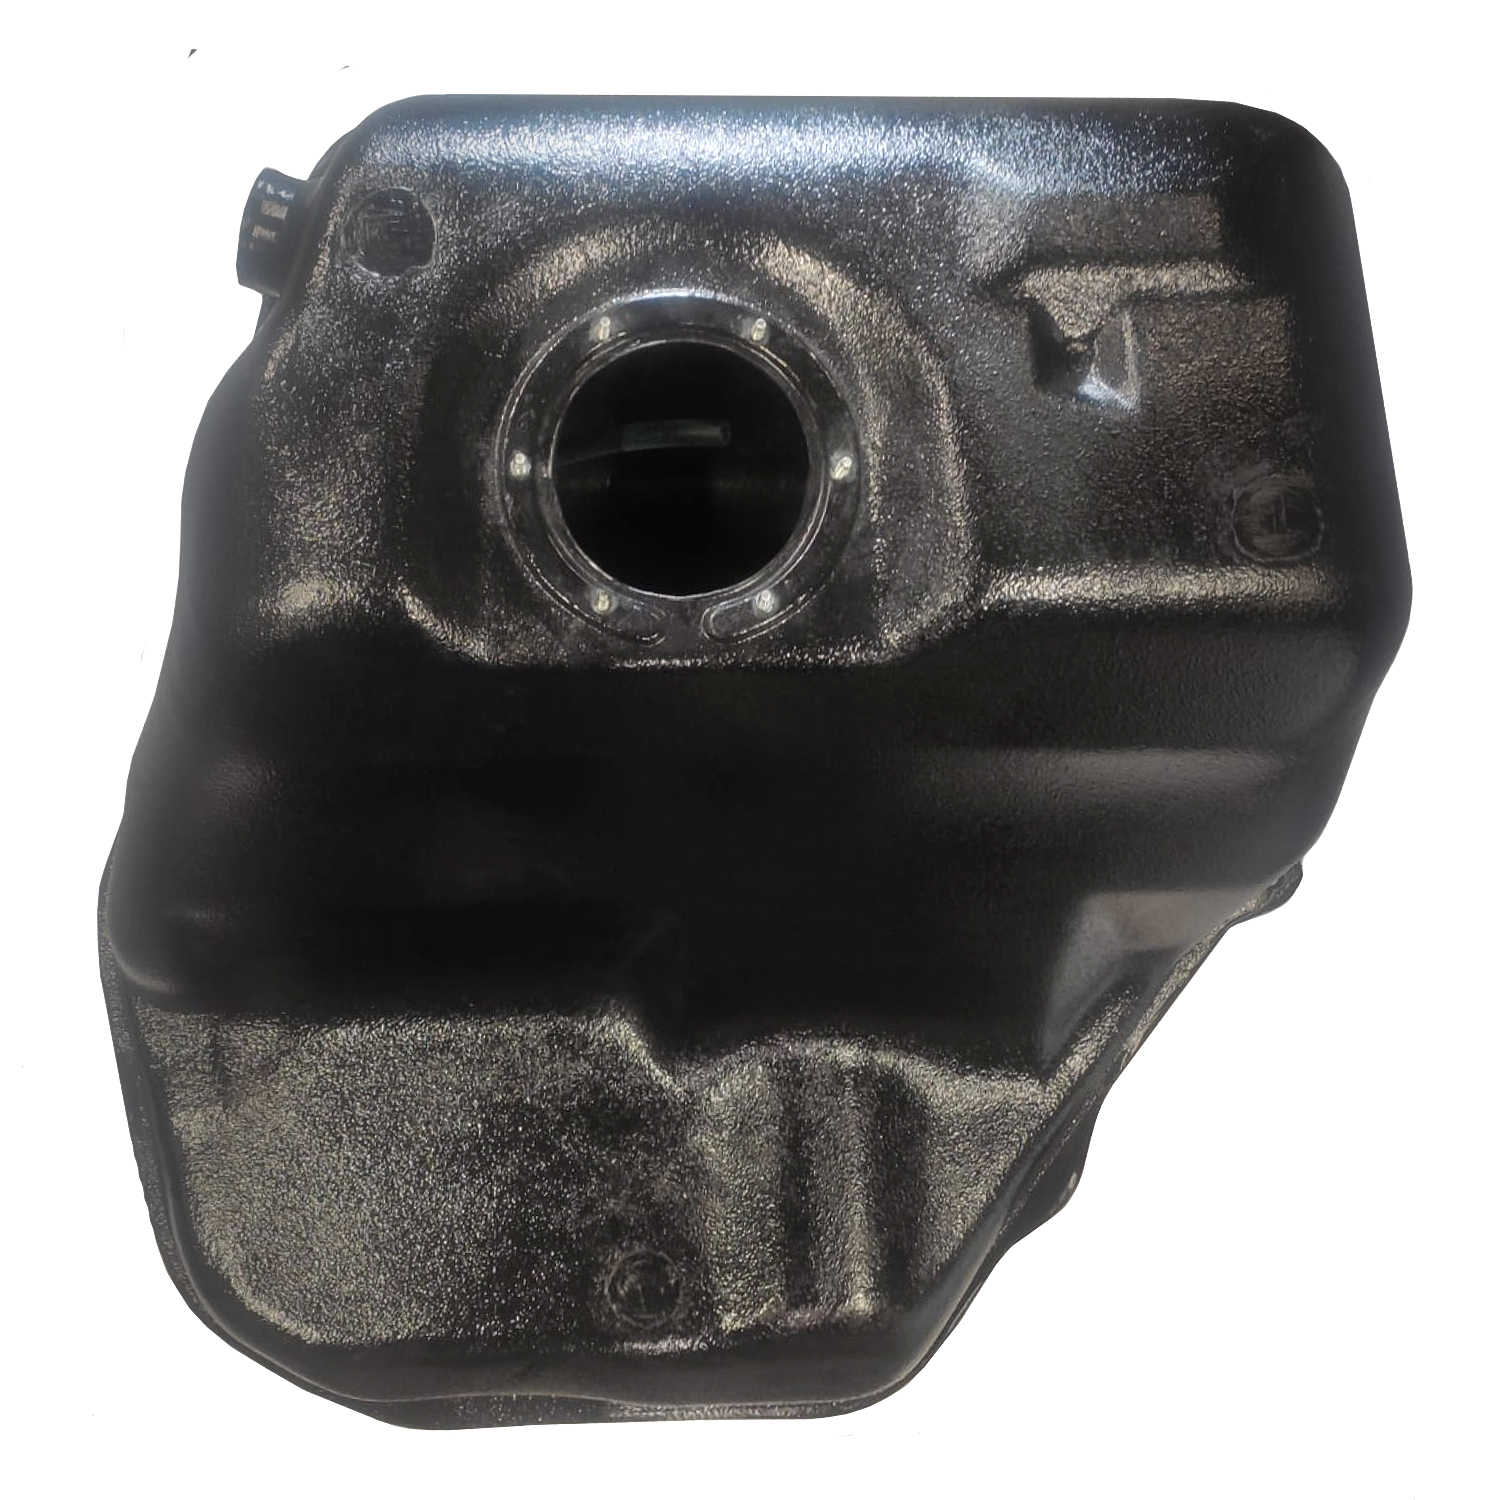
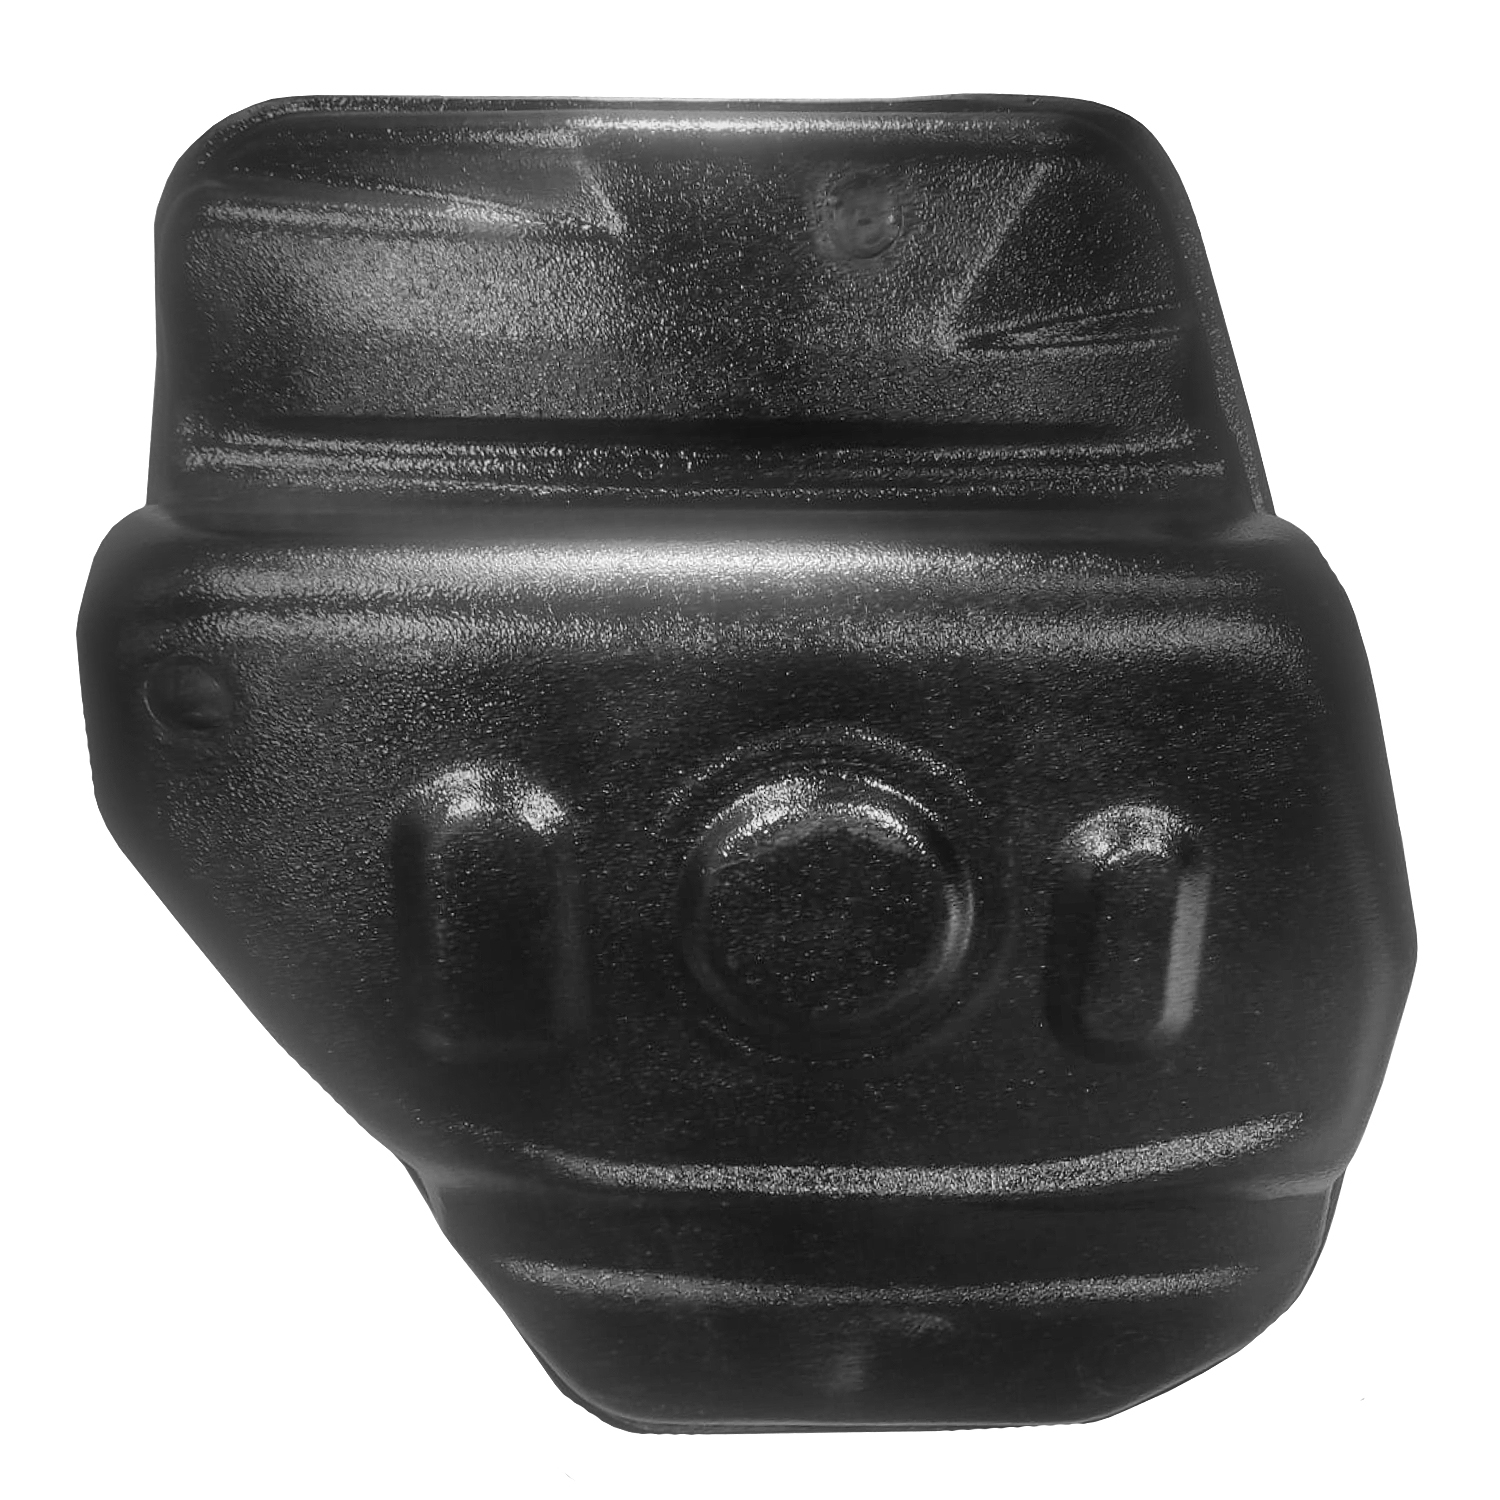
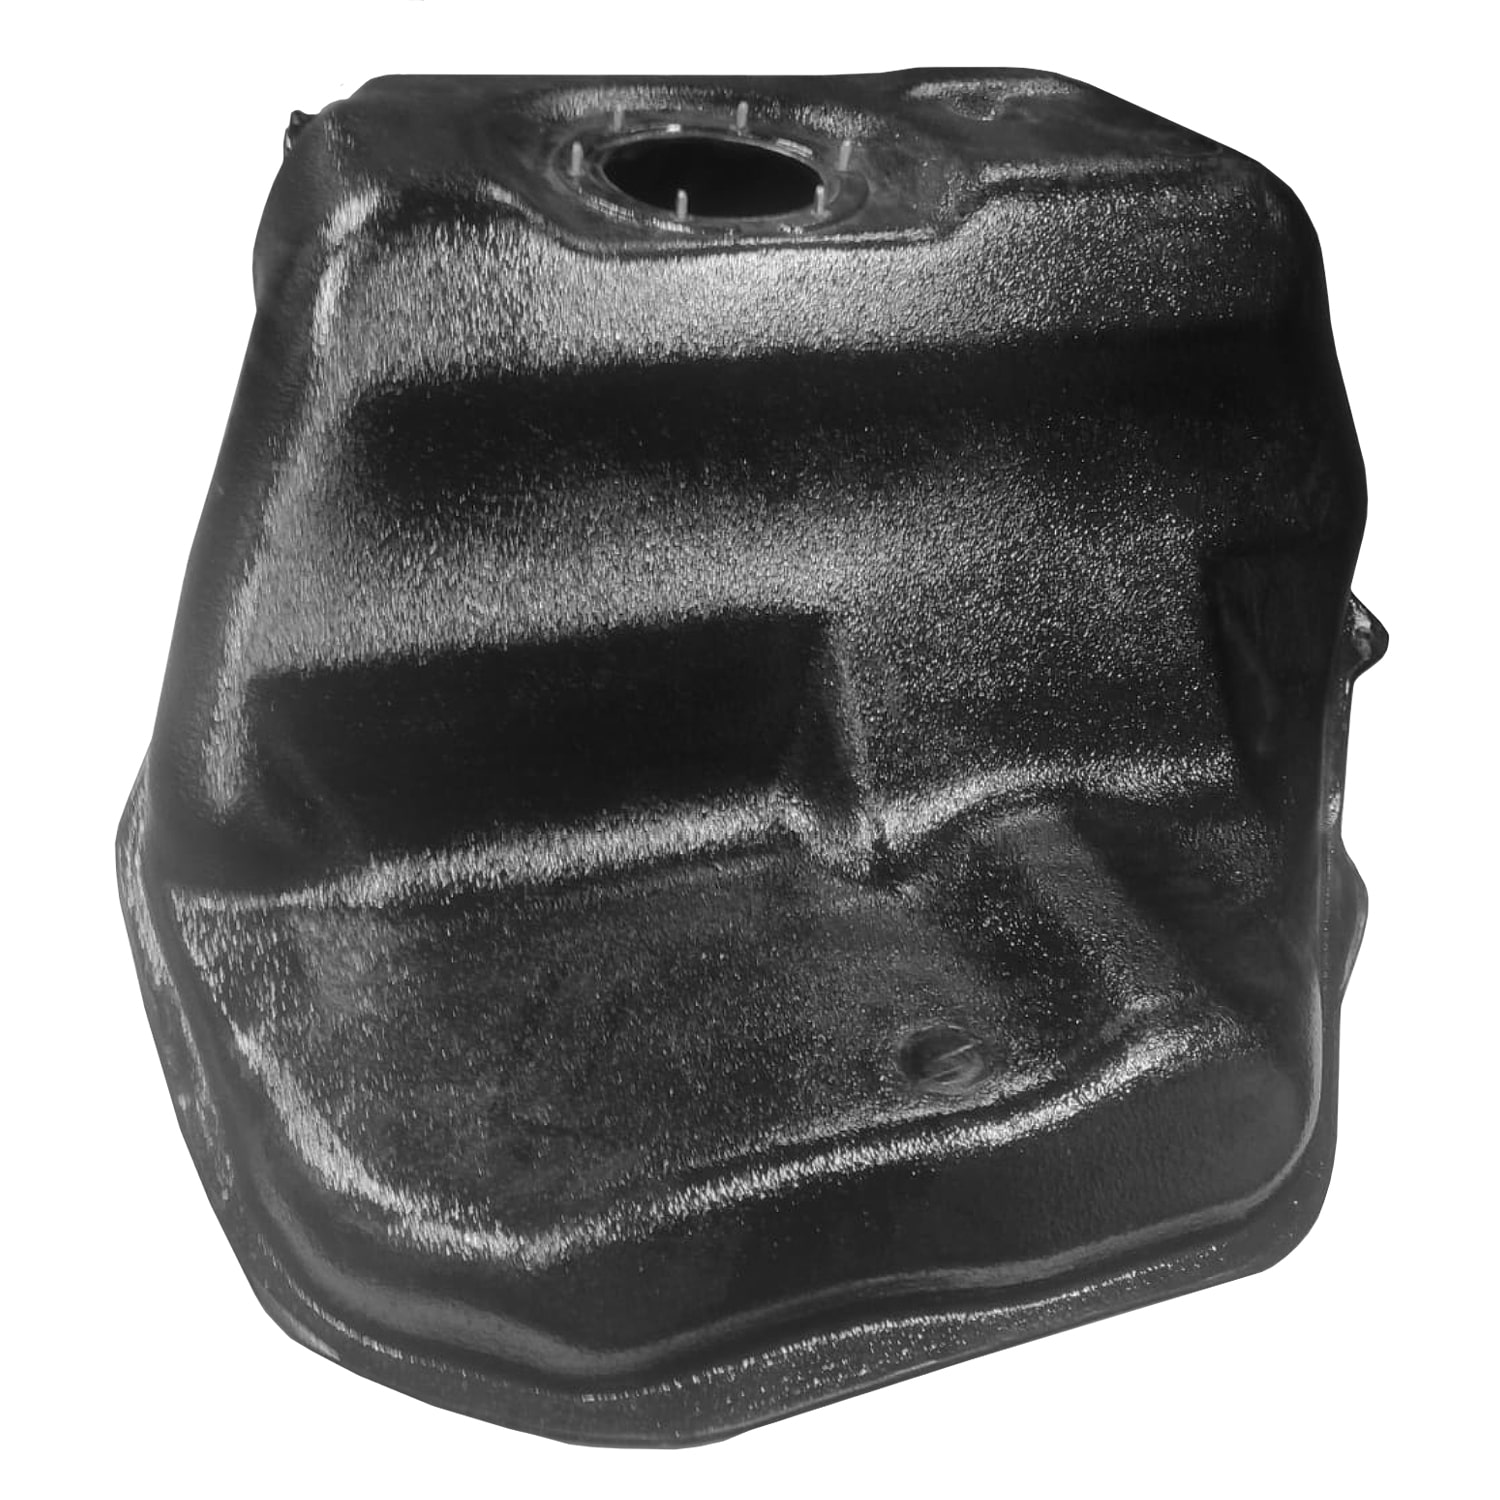
Step-by-Step: Replace the fuel tank — Audi 100 (C3/C4) / 200 / V8 era (front-drive styles) 1982-1997
Safety first: If you’re not comfortable working with fuel systems or heavy lifting, hire a professional.
Below is a practical, model-flexible procedure that covers the common steps used on front-wheel-drive Audi 100/C3, C4 (A6/100 era) and related 200/V8 tanks. The generations share the same basic layout, but fasteners, access panels and clearances differ slightly by model.
Before you start — essentials
Required tools & supplies
-
Floor jack + quality jack stands (or lift)
-
Long wooden block or transmission jack to support tank
-
Siphon or fuel transfer pump + approved fuel container
-
Basic socket set, ratchet, extensions, screwdrivers, pliers
-
Fuel-line quick-disconnect tool (if your car uses quick connectors)
-
New tank (or sender/pump module), new sealing ring(s) / O-rings, hose clamps, mounting strap bolts
-
Rags, brake cleaner, container for small parts, disposable gloves
-
Fire extinguisher rated for gasoline fires (recommended)
Safety & prep
-
Work outdoors or in a very well-ventilated garage. No open flames, sparks, smoking.
-
Disconnect the negative battery terminal before starting. Drain/siphon as much fuel from the tank as possible into an approved container (do not run indoors).
-
Keep a drip pan and absorbent rags handy — gasoline is hazardous and highly flammable.
High-level sequence (quick view)
-
Prep: chock wheels, disconnect battery, drain fuel.
-
Remove interior access (rear seat/carpeting) to reach electrical/filler connections.
-
Disconnect fuel lines, vent lines, electrical connectors and filler neck.
-
Support the tank, unbolt/remove straps, lower the tank.
-
Transfer or replace pump/sender & seals; fit new tank.
-
Reconnect lines, test for leaks, refill a little fuel, prime the pump, start and check.
Step-by-step (detailed)
1 — Prep & safety
-
Park level, chock front wheels, open fuel cap to relieve slight pressure.
-
Disconnect negative battery lead and move it away from terminal. Siphon tank fuel to low-level. Use approved container and dispose/ store fuel safely.
2 — Gain interior/trunk access
3 — Disconnect filler neck & vent lines
-
Under the car and in the trunk area: loosen the clamp(s) holding the filler neck at the tank and push the filler neck free. There may be a small screw or clip at the filler pipe branch—remove it.
-
Disconnect vent hoses (note routing), charcoal canister lines if present, and any breather hoses. Cap hoses to avoid contamination.
4 — Disconnect electrical and fuel lines
-
Inside the access panel: unplug the sender/fuel pump electrical connector.
-
Under the car: disconnect fuel supply and return lines. Older cars use hose clamps; newer ones may have quick-disconnect fittings — use the correct tool and catch any drips. Label lines if needed so you don’t swap supply/return.
5 — Support & unfasten the tank
-
Place a jack (with a wooden block) under the tank to carry its weight.
-
Unbolt or unclip the tank straps — typically two steel straps with bolts accessible from under the car or inside the trunk floor. Some captive nuts are welded into the floor, so you’ll need access to the underside to remove bolts. Lower the tank slowly and watch for remaining hoses/wires.
6 — Remove / service pump & sender
-
With the tank lowered, you’ll usually remove the fuel pump/sender from the tank (either through the top access or by removing the module). Older Audi modules use a plastic locking ring or a twist-in retainer; take care with the ring — pry/lift carefully to avoid damaging the sender float or seal. Replace the O-ring/sealing plate when reassembling.
7 — Fit the new tank
-
If you’re installing a replacement, transfer the pump assembly (or install a new module) into the new tank with a new seal. Check that the sender arm and float move freely.
-
Raise the tank into position (using the jack), reconnect vent/filler hoses and fuel lines loosely (so you can align the tank), then tighten the mounting strap bolts and clamps.
8 — Final connections & test
-
Reconnect electrical connector(s). Reconnect negative battery terminal. Add a small amount of fuel (a few liters) to the tank, turn the ignition to ON several times to prime the pump (listen for pump run), then check all connections for leaks. Start the engine and monitor for leaks and correct fuel pressure/idle. If all good, reinstall seats/carpets.
Model-specific notes & gotchas
-
Audi 100 (C3) — Tank and pump layout are illustrated in the factory manual; procedure is conventional: drain, disconnect, remove straps and lower tank. Diagrams are in the service manual.
-
C4 / early A6 / 200 / V8 era — Some models require removing or loosening heat shields or portions of the exhaust for clearance; there are also access covers under the trunk carpet for quick electrical disconnection. Always inspect underside before trying to lower the tank.
-
Pump ring / module — Many owners report the plastic lock ring around the pump is brittle with age — work carefully and use the correct technique (lift first plastic ring, pry inner ring) to avoid wrecking the sender. Forum walkthroughs and service manuals show the exact sequence.
Fuel tank parts for vehicles produced before 1988
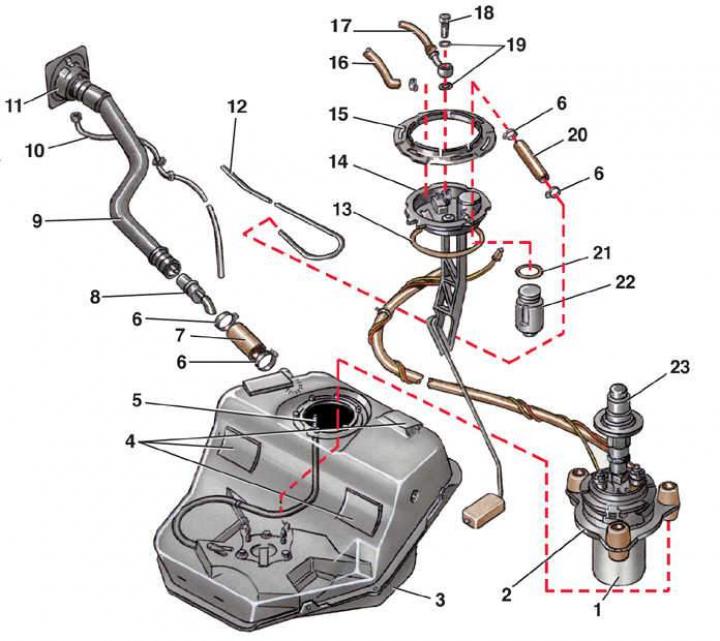
1 — fuel pump
2 — pump holder
3 — fuel tank
4 — gaskets
5 — drain tube
6 — screw clamp
7 — connecting pipe
8 — valve
9 — filler pipe
10 — drainage pipe
11 — filler neck
12 — fuel tank ventilation tube
13 — sealing ring
14 — fuel level sensor
15 — retainer
16 — fuel drain line
17 — fuel line
18 — connecting bolt
19 — gasket
20 — hose to ventilation tube
21 — valve sealing ring
22 — gravity valve
23 — silencer
Fuel tank parts for vehicles produced after 1988
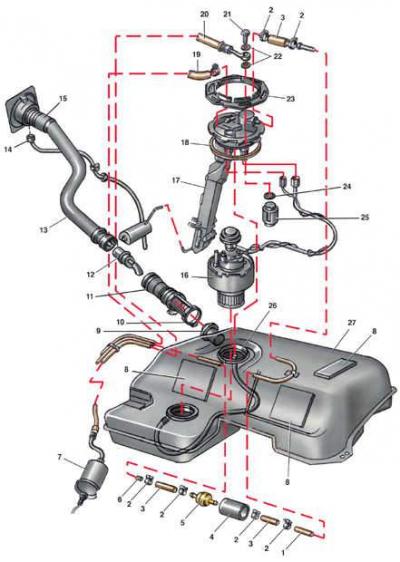
1 – Breather Line to Carbon Filter;
2 – Screw Clamp;
3 – Connecting Hose;
4 – Breather Protective Hose;
5 – Breather Valve and Valve;
6 – Fuel Line;
7 – Fuel Filter;
8 – Gasket;
9 – Filler Pipe Mounting Nipple;
10 - Clamp;
11 – Filler Pipe Hose;
12 – Valve;
13 – Filler Pipe;
14 – Drain Hose;
15 – Filler Neck;
16 – Fuel Pump;
17 – Fuel Level Sensor;
18 – O-Ring;
19 – Fuel Drain Line;
20 – Fuel Line;
21 – Connecting Bolt;
22 – Gasket;
23 – Retainer;
24 – Valve O-ring;
25 – Gravity valve;
26 – Drain tube;
27 – Fuel tank
Tips, replacement parts & troubleshooting
-
Replace the O-ring / gasket for the pump/sender every time — it’s cheap and prevents leaks.
-
Replace tank straps or bolts if rusted — failure later can drop a tank.
-
If the pump runs but engine won’t start after reinstall, re-check the supply/return line routing and electrical connector pins; scan for fuel pressure.
-
Keep an extra container of fresh fuel to top up after reassembly to avoid running the pump dry.