
Use sealant when installing analog fuel tanks.
Why Sealant Is Important When Installing a Fuel Tank
When replacing an original fuel tank with a replacement or aftermarket unit, many car owners wonder whether sealant is necessary — and which type to use. Using the wrong product or applying it incorrectly can cause fuel leaks, gasoline odor inside the cabin, or even fire hazards. This article explains why sealant is essential, which types are suitable, and how to apply it properly.
Benefits of Using Sealant on Fuel Tanks
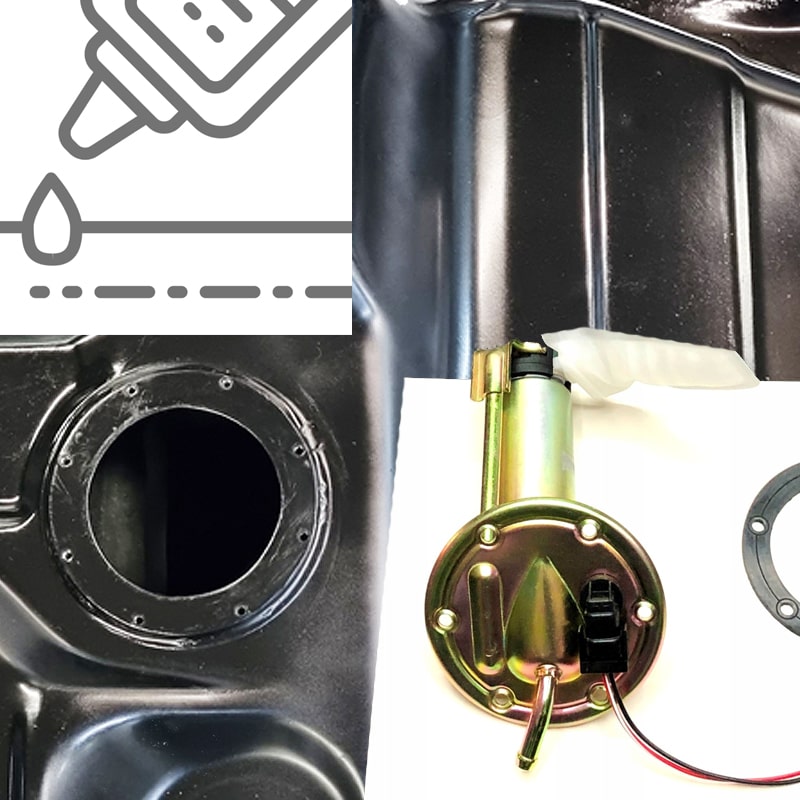
Differences between original and analog fuel tanks
Analog or non-original fuel tanks may have slight variations in fit or sealing surfaces. Even the smallest gaps can lead to the following problems:
- Fuel or vapor leakage
- Corrosion at connection points
- Excessive strain on gaskets and clamps
A fuel-resistant sealant compensates for surface irregularities and ensures a durable, leak-free seal.
Which Sealants Are Suitable for Fuel Tanks?
Not Every Sealant Is Fuel-Resistant
Never use standard silicone or universal sealants — they deteriorate when exposed to gasoline or diesel and may contaminate the fuel system.
Recommended Types of Sealants
- Anaerobic sealants – ideal for flange connections
- RTV sealants labeled as Fuel Resistant
- Polyurethane sealants – heat resistant up to approximately +150 °C
- Silicone sealants with fluorinated additives, e.g. Permatex Fuel Resistant, Dirko HT, Victor Reinz Reinzosil
Tip: Always check that the product label includes “fuel resistant” or “gasoline resistant” before purchase.
Step-by-Step Guide: How to Apply Sealant Correctly
Preparation
- Clean all surfaces thoroughly — remove old gasket material, dirt, and rust.
- Degrease using solvent — acetone or isopropyl alcohol works well.
Application and Assembly
- Apply a thin, even layer of sealant.
- Wait 5–10 minutes for a skin to form (check the manufacturer’s instructions).
- Assemble the parts and tighten bolts in a criss-cross pattern.
- Allow 12–24 hours to cure fully before refueling or driving.
Common Mistakes When Sealing Fuel Tanks
Typical Application Errors
- Using non-fuel-resistant sealant
- Applying too much sealant — excess may enter the tank
- Applying on dirty or wet surfaces
- Insufficient curing time before filling with fuel
These mistakes often lead to leaks and damage to the fuel system.
Conclusion
Safety and Durability Through Proper Sealing
Using the right sealant when installing replacement fuel tanks is not an unnecessary step — it is a key factor in ensuring safety and extending the service life of your vehicle. With a high-quality, fuel-resistant sealant, you guarantee:
- 100 % leak-free connections
- Protection against corrosion
- Longer lifespan of the fuel tank
- Reliable and safe vehicle operation