Step-by-Step Guide to Replacing the Fuel Tank on a Mercedes-Benz A‑Class (W169) and B‑Class (W245), 2004–2012 — Petrol & Diesel
Safety first: If you’re not comfortable working with fuel systems or heavy lifting, hire a professional.
Overview
This guide gives a safe, practical, workshop-style procedure for removing and replacing the fuel tank on Mercedes‑Benz A‑Class (W169) and B‑Class (W245) models (2004–2012), applicable to both petrol and diesel versions. It covers preparation, tools and parts, step‑by‑step removal and refit, safety cautions, and troubleshooting tips.
Intended audience: Experienced DIYers or professional mechanics comfortable with jacking/lifting cars, fuel systems, and electrical connectors.
Important safety notes (read before you start)
- Work in a well‑ventilated area away from open flames, sparks, heaters or anything that could ignite fuel vapour. No smoking.
- Wear eye protection, gloves and flame‑resistant clothing if available.
- Use a properly rated fire extinguisher (for flammable liquids) within reach.
- Always support the vehicle on solid jack stands—never rely on a jack alone.
- Disconnect the negative battery terminal before touching fuel system wiring.
- Drain fuel into approved containers and dispose of fuel and contaminated rags through local hazardous‑waste channels.
- If unsure at any step, stop and consult the official Mercedes‑Benz workshop manual or a professional.
Compatibility & model notes
- This is a general, model‑level procedure for W169 / W245 chassis years 2004–2012. Specific access panels, fastener styles and some connector locations may vary by engine code and factory options (tank capacity, LDW/EVAP components, EVAP canister positions).
- Always check the vehicle’s VIN/service manual for model‑specific steps (e.g., whether the pump module is accessible from inside the boot/seat area or requires tank lowering).
Skill level & time
- Skill level: Intermediate to advanced.
- Tools & workspace: See lists below.
- Time: Varies depending on experience and whether the tank is full or rusted to straps—plan accordingly.
Tools, equipment & consumables
Tools
- Metric socket set (8–24 mm), deep and shallow sockets
- Torx bits (T20–T50) and star sockets where needed
- Ratchet, breaker bar, extensions
- Torque wrench (for final fasteners)
- Flat and Phillips screwdrivers
- Hose clamp pliers or pliers suitable for spring clamps
- Fuel siphon/hand pump and approved fuel containers
- Floor jack + transmission jack or dedicated tank jack (recommended)
- Jack stands (x4) and wheel chocks
- Pry bar and rubber mallet
- Multimeter (for testing fuel pump power/ground)
- Fuel‑line quick‑disconnect tool set (if Mercedes quick‑connect fittings used)
- Plastic zip‑ties and permanent marker/labels (to tag hoses and connectors)
Consumables & parts
- Replacement fuel tank (correct part for W169/W245 and engine type)
- New fuel tank straps or strap cushions if corroded
- New fuel pump module seal / O‑ring (whenever the pump module is removed)
- New hose clamps, fuel hoses and vent hoses as required
- New fuel filter (if applicable)
- Replacement electrical connector(s) or terminals if damaged
- Anti‑seize compound for bolts (optional)
- Clean rags, brake cleaner, hand cleaner, gloves
Safety equipment & disposal
- Fire extinguisher (Class B or multi‑class)
- Approved fuel jerry cans / drums and spill kit
- Container for contaminated rags / absorbent pads
Prep & preliminaries
- Park the car on a flat, level surface. Apply handbrake and chock the front wheels.
- Relieve residual fuel system pressure per the vehicle procedure: typically remove the fuel pump fuse/relay and crank the engine until it stalls, or use a Schrader valve if present. If unsure, consult the factory procedure.
- Disconnect the negative battery terminal.
- If possible, reduce the amount of fuel in the tank by siphoning into approved containers — lighter tanks are safer and easier to handle. NEVER siphon by mouth.
- Remove rear interior panels, rear seat cushion or trunk lining if necessary to access the top of the tank/pump module retaining ring (some cars have an access cover). Label any clips and screws so you can refit them in the right place.
Removal — step‑by‑step
Work methodically. Tag every electrical connector and hose you disconnect with tape and a marker.
- Raise and secure the vehicle: Use a floor jack to raise the rear of the car and place on jack stands. Ensure the car is stable before working underneath.
- Support the tank: Place a transmission jack or floor jack with a wide wood block under the fuel tank to support it.
- Disconnect wiring: From the top access or at the tank area, disconnect electrical connectors to the fuel pump module, fuel level sender and any tank‑mounted sensors. Cover connectors to prevent contamination.
- Disconnect fuel lines & vent hoses: Use the quick‑disconnect tool if required. Be prepared for a small amount of fuel to spill — use drip trays and rags. Label each hose.
- Disconnect the filler neck: At the body side, loosen clamps and detach the filler neck from the tank. You may need to remove small bolts or brackets holding the neck.
- Disconnect vent/EVAP lines and canister lines: Carefully separate all vent lines, canister purge hoses and breather hoses. These lines are often plastic and may be brittle on older cars—work gently and replace cracked hoses.
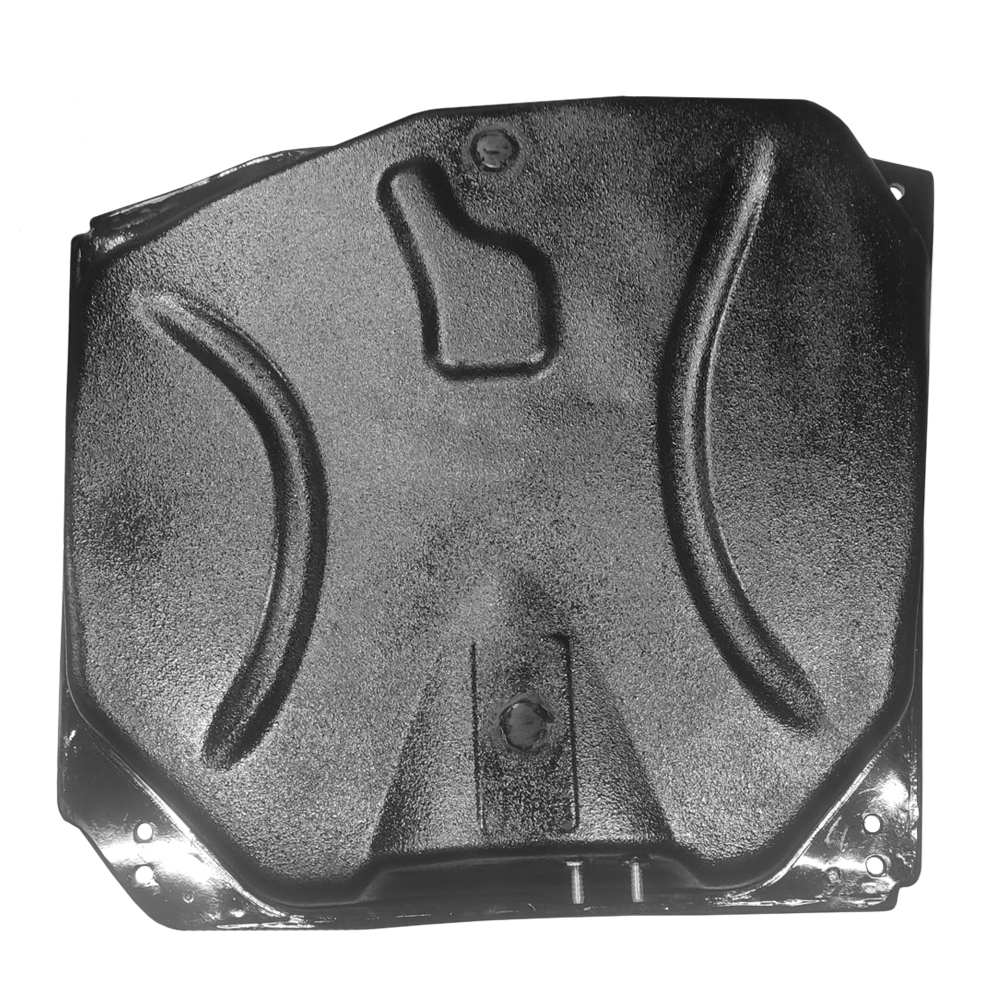
- Remove heat shields / crossmember (if required): Some cars have shields or braces in the way. Remove or loosen these items to allow tank clearance. Keep hardware organized.
- Unbolt tank straps: With the tank fully supported by the jack, loosen and remove the tank strap bolts/clamps. Lower the straps away from the tank.
- Lower the tank: Slowly lower the jack while checking for remaining connections (electric, hoses or straps). Once lowered enough, angle the tank to clear the chassis and remove from under the car. Tanks can be heavy and awkward — ensure it’s steady while removing.
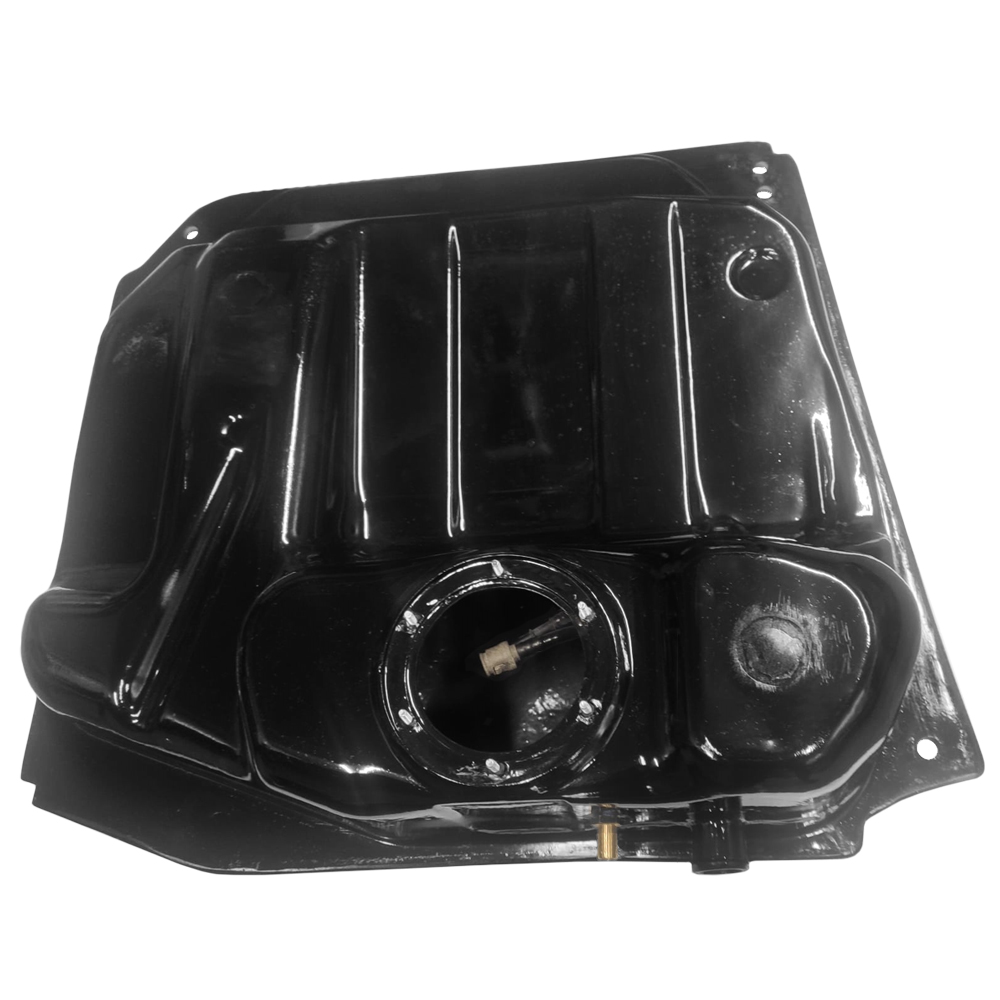
- Remove the pump module if required: If you are replacing the pump module or swapping the module from old to new tank, remove the retaining ring/bolts and withdraw the pump module (careful — float and sensors are delicate). Replace the pump module seal/O‑ring whenever removed.
Important: Keep the old tank upright during handling to avoid spills. Inspect the tank for internal contamination, rust or damage.
Prepare new tank & reassembly notes
- Inspect the new tank for shipping damage and clean any internal debris (do NOT use compressed air into the tank).
- Transfer fittings, straps and pump module if needed: when transferring the original pump module into the new tank, replace the module O‑ring/seal and inspect the pump inlet sock and wiring harness.
- Replace all brittle vent hoses, clamps and rubber mounting pieces while accessible.
- Fit the new seal to the pump module and make sure the float arms and sender are free to move.
Refit — step‑by‑step
- Seat the tank: Position the tank under the vehicle and raise it using the jack until it is roughly in position. Line up filler neck and mounts before lifting all the way.
- Reconnect filler neck and vent hoses: Reattach the filler neck to the tank, connect vent/EVAP lines and secure all clamps but do not fully torque yet.
- Reconnect fuel lines & electrical connectors: Reconnect the main fuel feed, return (if diesel) and any vent lines. Reconnect the pump module and sender connectors. Ensure each connection is fully seated and locking clips engage.
- Secure tank straps: Raise tank into final position and re‑fit strap(s). Tighten bolts snugly and torque to the manufacturer’s specification (see notes below). Replace any rusted hardware—do not reuse badly corroded bolts.
- Refit any shields or crossmembers: Reinstall heat shields and any removed subframe or braces.
- Lower vehicle: Carefully lower the jack, remove stands and lower the car to the ground.
- Refill fuel: Add a small amount of fuel (enough to prime the pump; a few litres).
- Reconnect battery: Reconnect the negative battery terminal.
- Prime the system: Turn the ignition to the ON position (do not start) for several seconds to allow the pump to prime, then switch off; repeat 2–3 times. For diesel systems, follow the correct priming/bleeding procedure (some vehicles have a manual primer or require ignition‑cycling).
- Start and check: Start the engine and check for leaks around hoses, tank seams and pump module. Inspect for warning lights or codes.
Post‑fit checks & testing
- Visually inspect for fuel leaks while engine is idling and after a short test drive.
- Verify fuel gauge operation and warning/reservoir lights.
- Clear any stored fault codes with an OBD‑II scanner and monitor for reoccurrence.
- Smell check — if there is a strong fuel odor, stop and inspect vent hoses and clamps.
- Re‑check torque of accessible fasteners after the first short drive.
Petrol vs Diesel — key differences to watch for
- Diesel tanks often have return lines and possibly a separate water separator or heater elements. There may be an additional connector or primer pump to bleed air.
- Priming: Diesel systems are prone to air locks—make sure to follow the correct bleed/prime method (many diesels require ignition key cycling, manual pump use, or a dedicated bleeder screw).
- Fuel volatility: Petrol vapour is more flammable — be especially strict about eliminating ignition sources.
- Filter location: Diesel systems commonly have an external fuel filter/water separator that is often replaced at the same time.
Troubleshooting
- Engine won’t start after refit: Check pump fuse/relay, check pump power/ground with multimeter, check that pump module connectors are fully seated and that the pump sock is not blocked.
- Fuel smell: Tighten clamps, check hoses for cracks and verify vent lines not pinched or disconnected.
- Fuel leaks when driving: Stop and inspect immediately. Replace faulty clamps or hoses and ensure tank straps are secure.
- Fuel gauge inaccurate: Check sender wiring and float movement; sender may have been damaged during removal/fitment.
Torque & specification notes
Fastener sizes and torque specs may vary by year and equipment. Always consult the Mercedes‑Benz workshop manual or a reputable repair database for the exact torque values for your vehicle.