Step-by-Step Guide to Replacing the Fuel Tank on a 2005–2010 Jeep Commander 3.0 CRD Diesel
Safety first: If you’re not comfortable working with fuel systems or heavy lifting, hire a professional.
Introduction
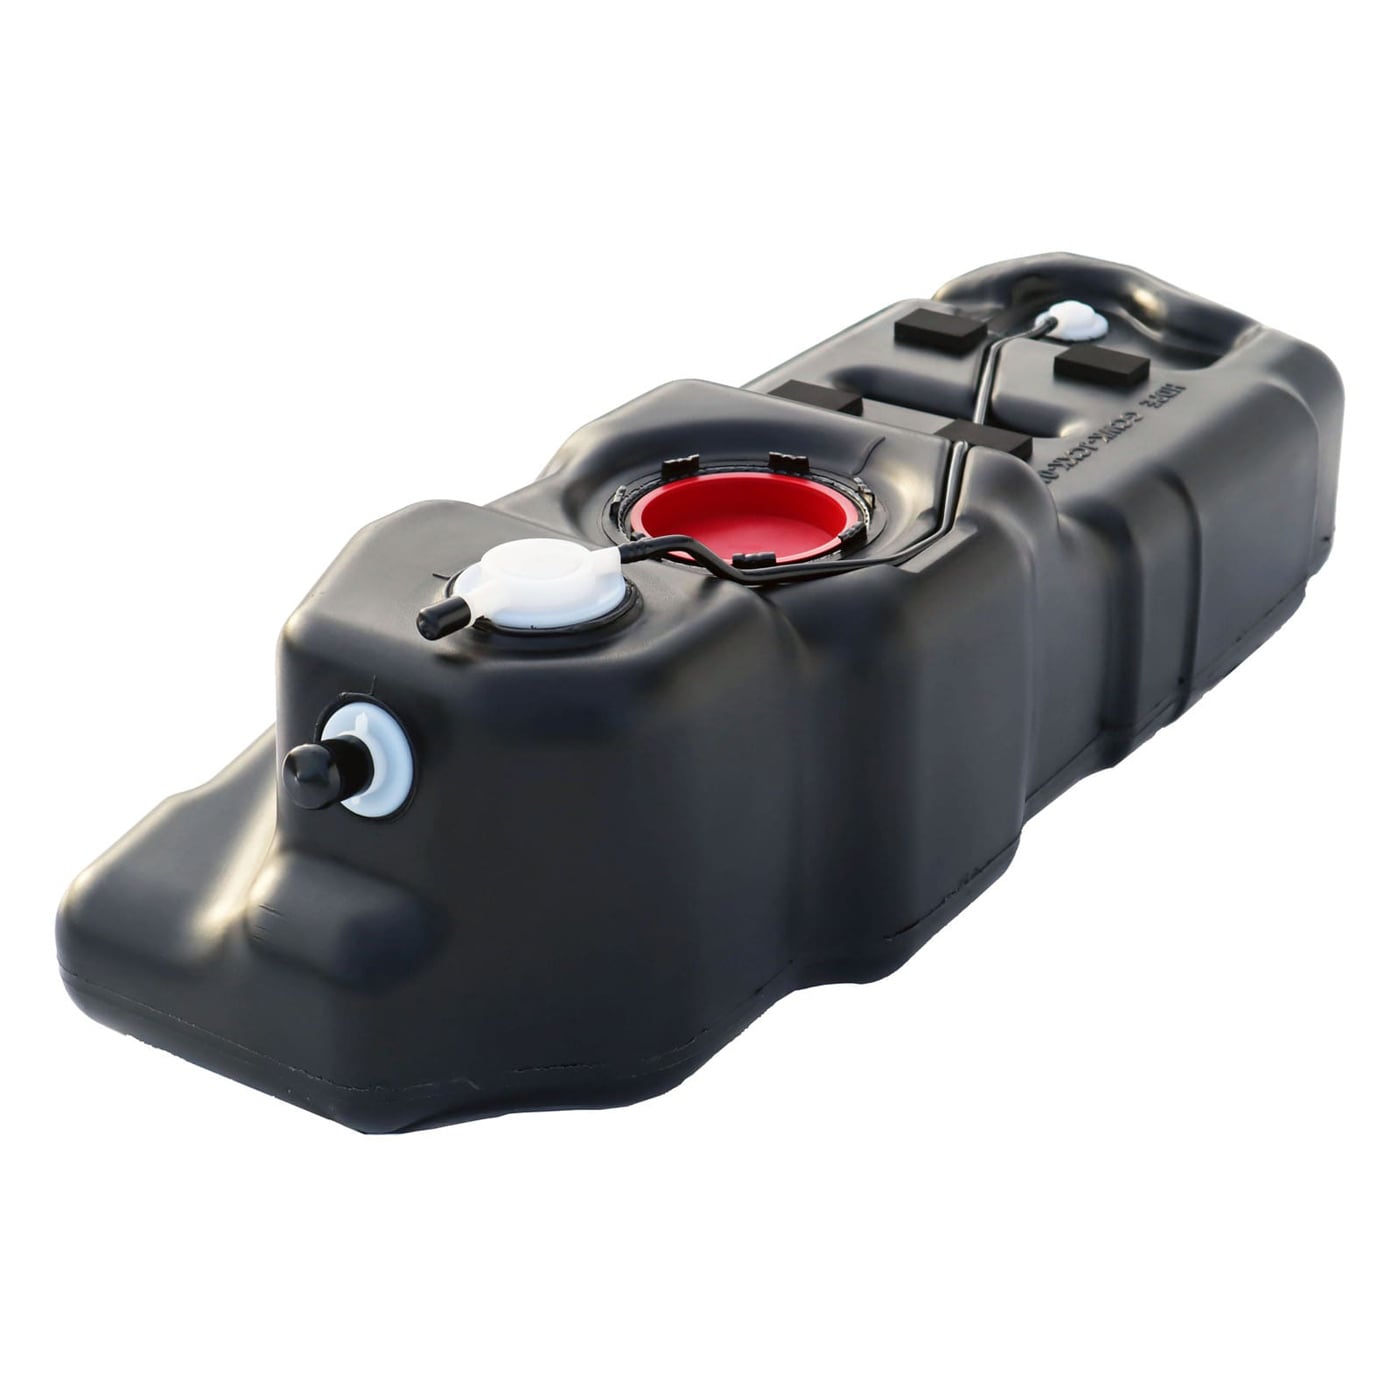
Replacing the fuel tank on a Jeep Commander 3.0 CRD Diesel (model years 2005–2010) is a moderately complex task that requires mechanical skills, appropriate tools, and safety precautions. This guide will walk you through the process step by step.
Tools and Equipment Required
- Safety glasses and gloves
- Jack and sturdy jack stands
- Wheel chocks
- Socket set and wrenches
- Screwdrivers (flathead and Phillips)
- Fuel line disconnect tool
- Drain pan and siphon pump
- Replacement fuel tank
- Torque wrench
- Shop towels/rags
Safety Precautions
- Work in a well-ventilated area away from sparks, flames, or open heat sources.
- Disconnect the negative battery terminal before starting.
- Properly relieve fuel system pressure before disconnecting any fuel lines.
- Use jack stands to safely support the vehicle at all times. Never rely solely on a jack.
Step-by-Step Procedure
1. Preparation
- Park the vehicle on a flat, stable surface.
- Place wheel chocks around the front tires.
- Disconnect the negative battery cable.
- Relieve pressure from the fuel system (via the fuel pump fuse/relay and running the engine until it stalls).
2. Drain the Fuel Tank
- Safely siphon as much fuel as possible into an approved container using a siphon pump.
- Place a drain pan underneath the tank to catch any residual fuel.
3. Raise and Support the Vehicle
- Use a jack to raise the rear of the vehicle.
- Place jack stands securely under the frame to support it.
4. Disconnect Fuel and Electrical Connections
- Locate the fuel lines connected to the tank and disconnect them using the fuel line tool.
- Disconnect the electrical connector(s) to the fuel pump/sending unit.
5. Remove Tank Straps and Shield
- Support the fuel tank with a transmission jack or a sturdy floor jack with a wide base.
- Remove the fuel tank shield (if equipped).
- Loosen and remove the bolts securing the fuel tank straps.
6. Lower and Remove the Tank
- Slowly lower the fuel tank while checking for any remaining connections.
- Fully remove the tank from under the vehicle.
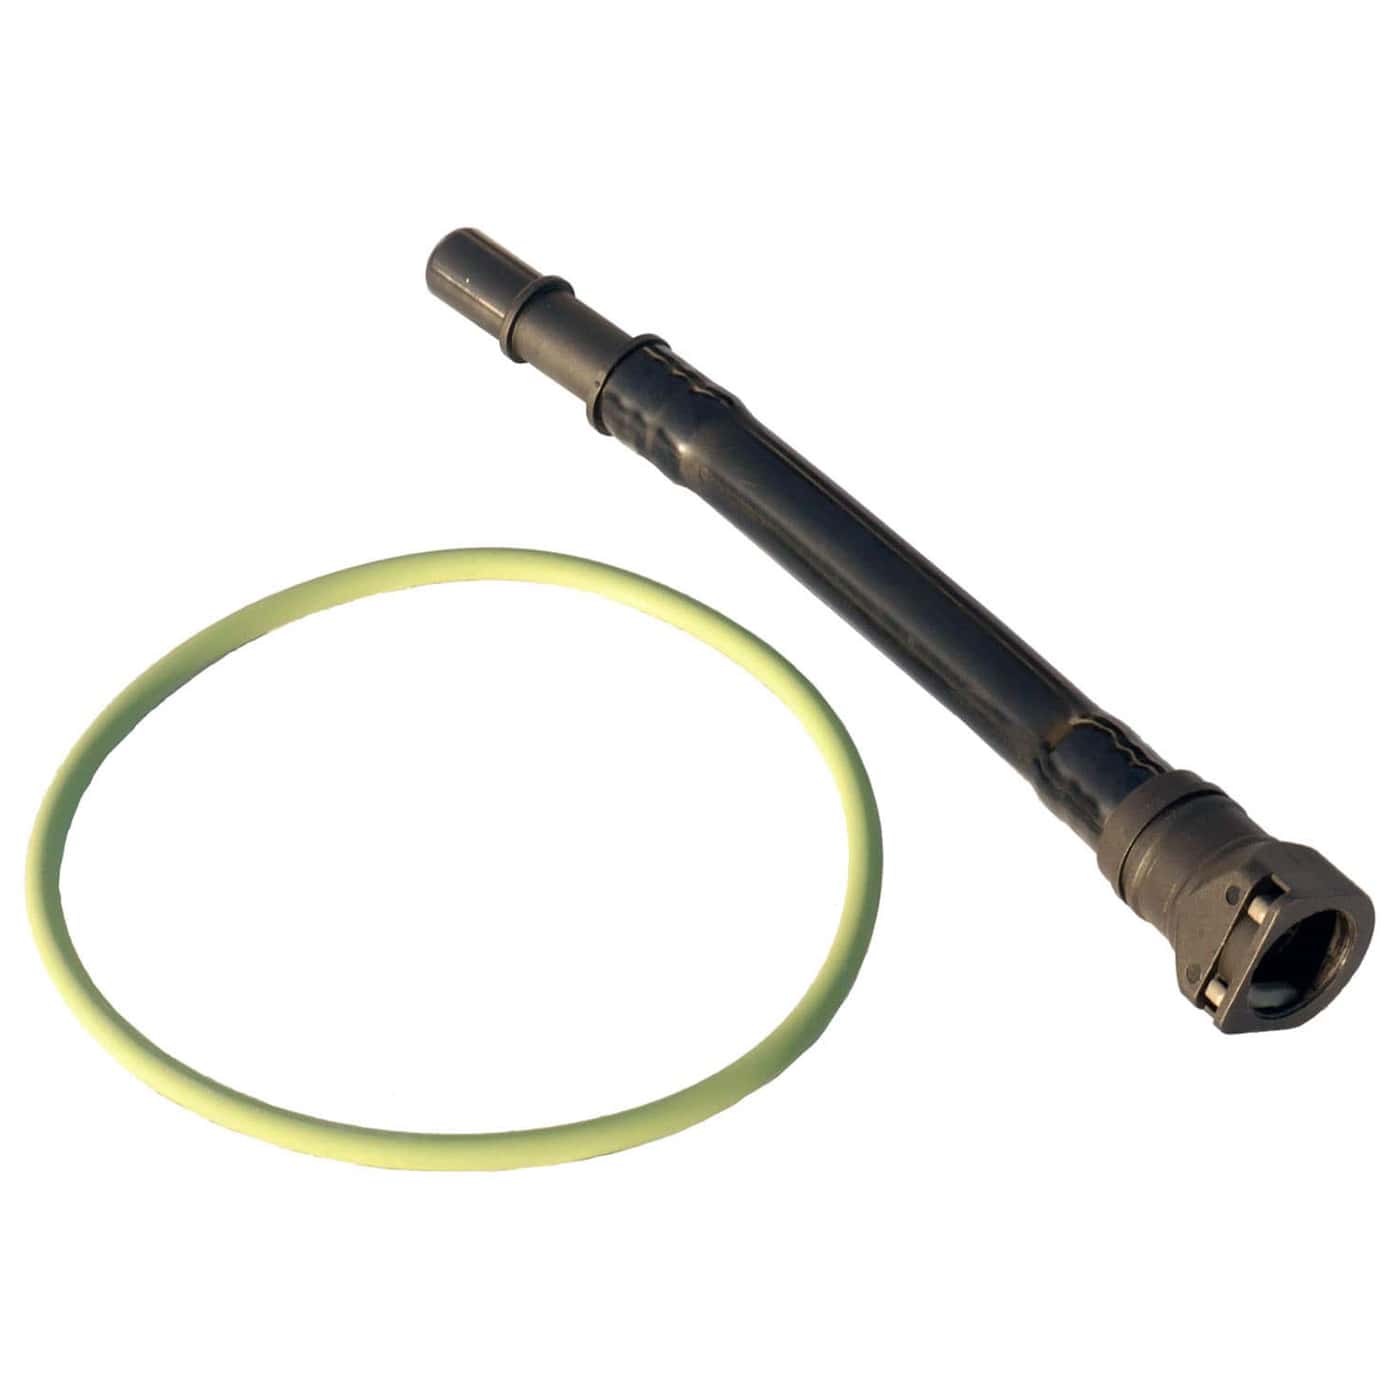
7. Transfer Components (if applicable)
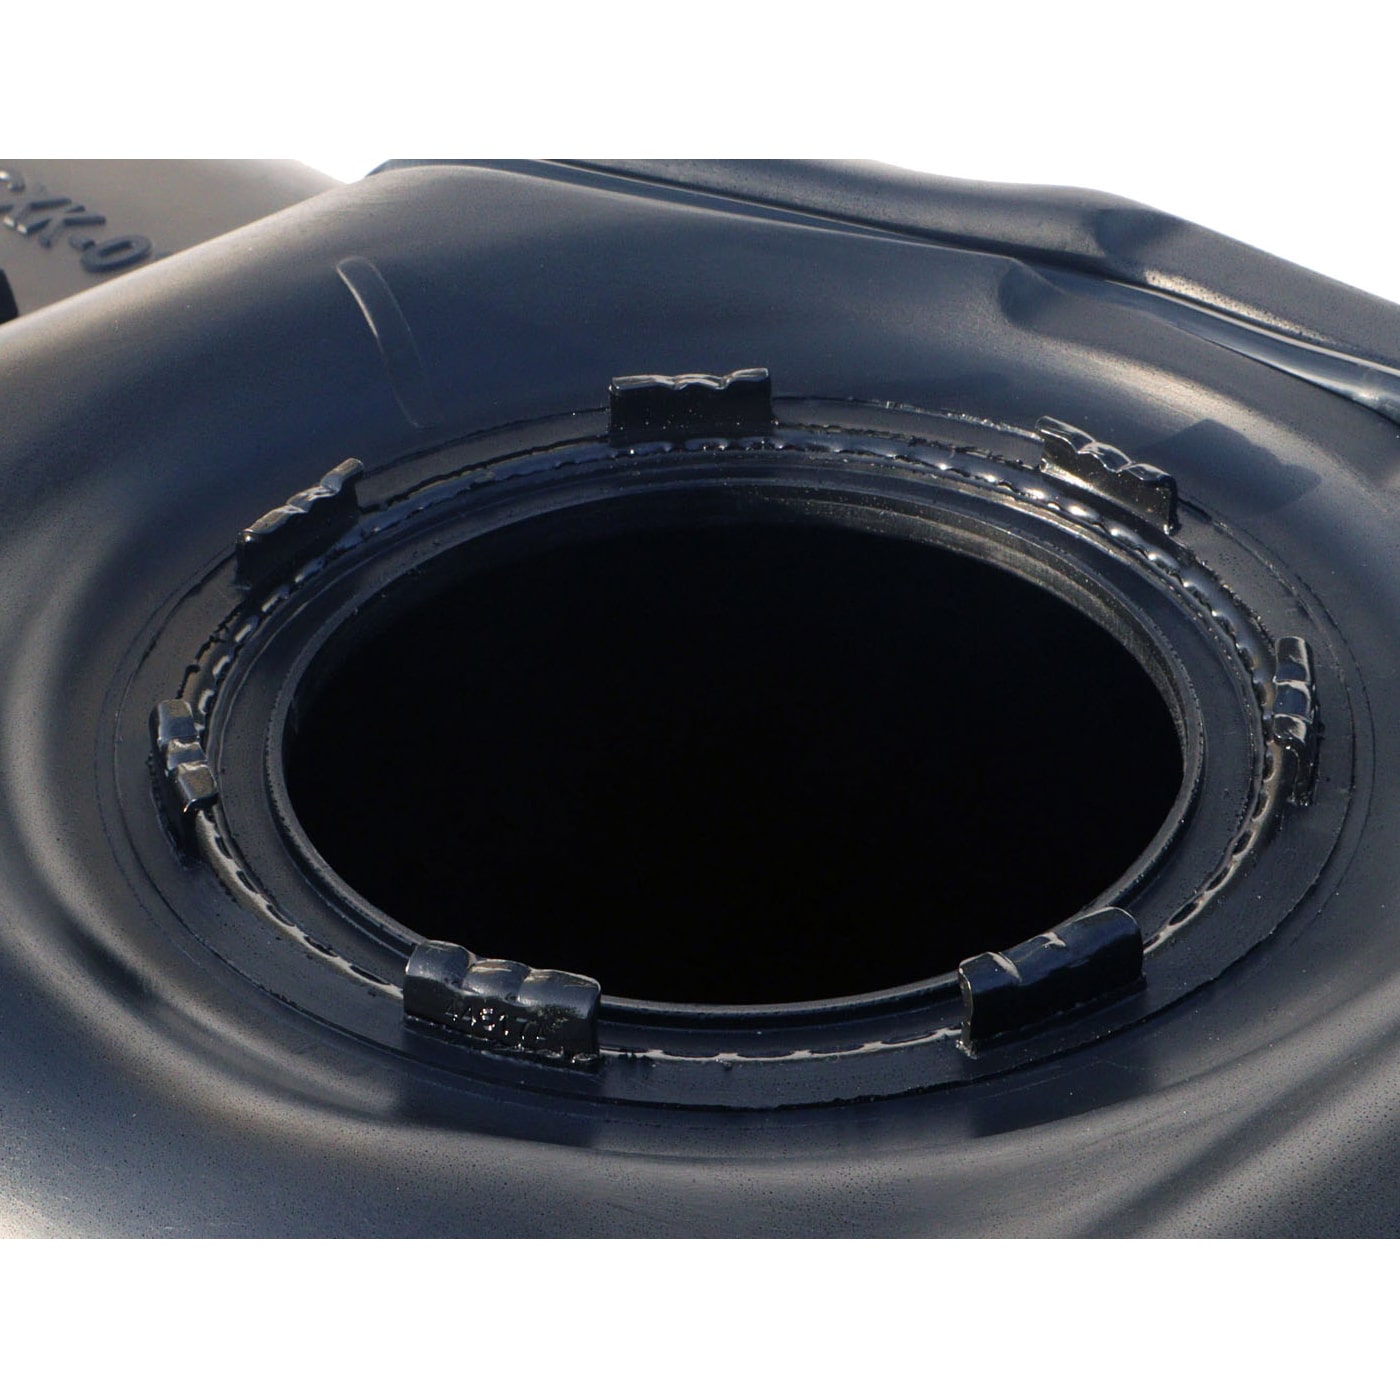
- If the replacement tank does not include a fuel pump or sending unit, carefully remove them from the old tank.
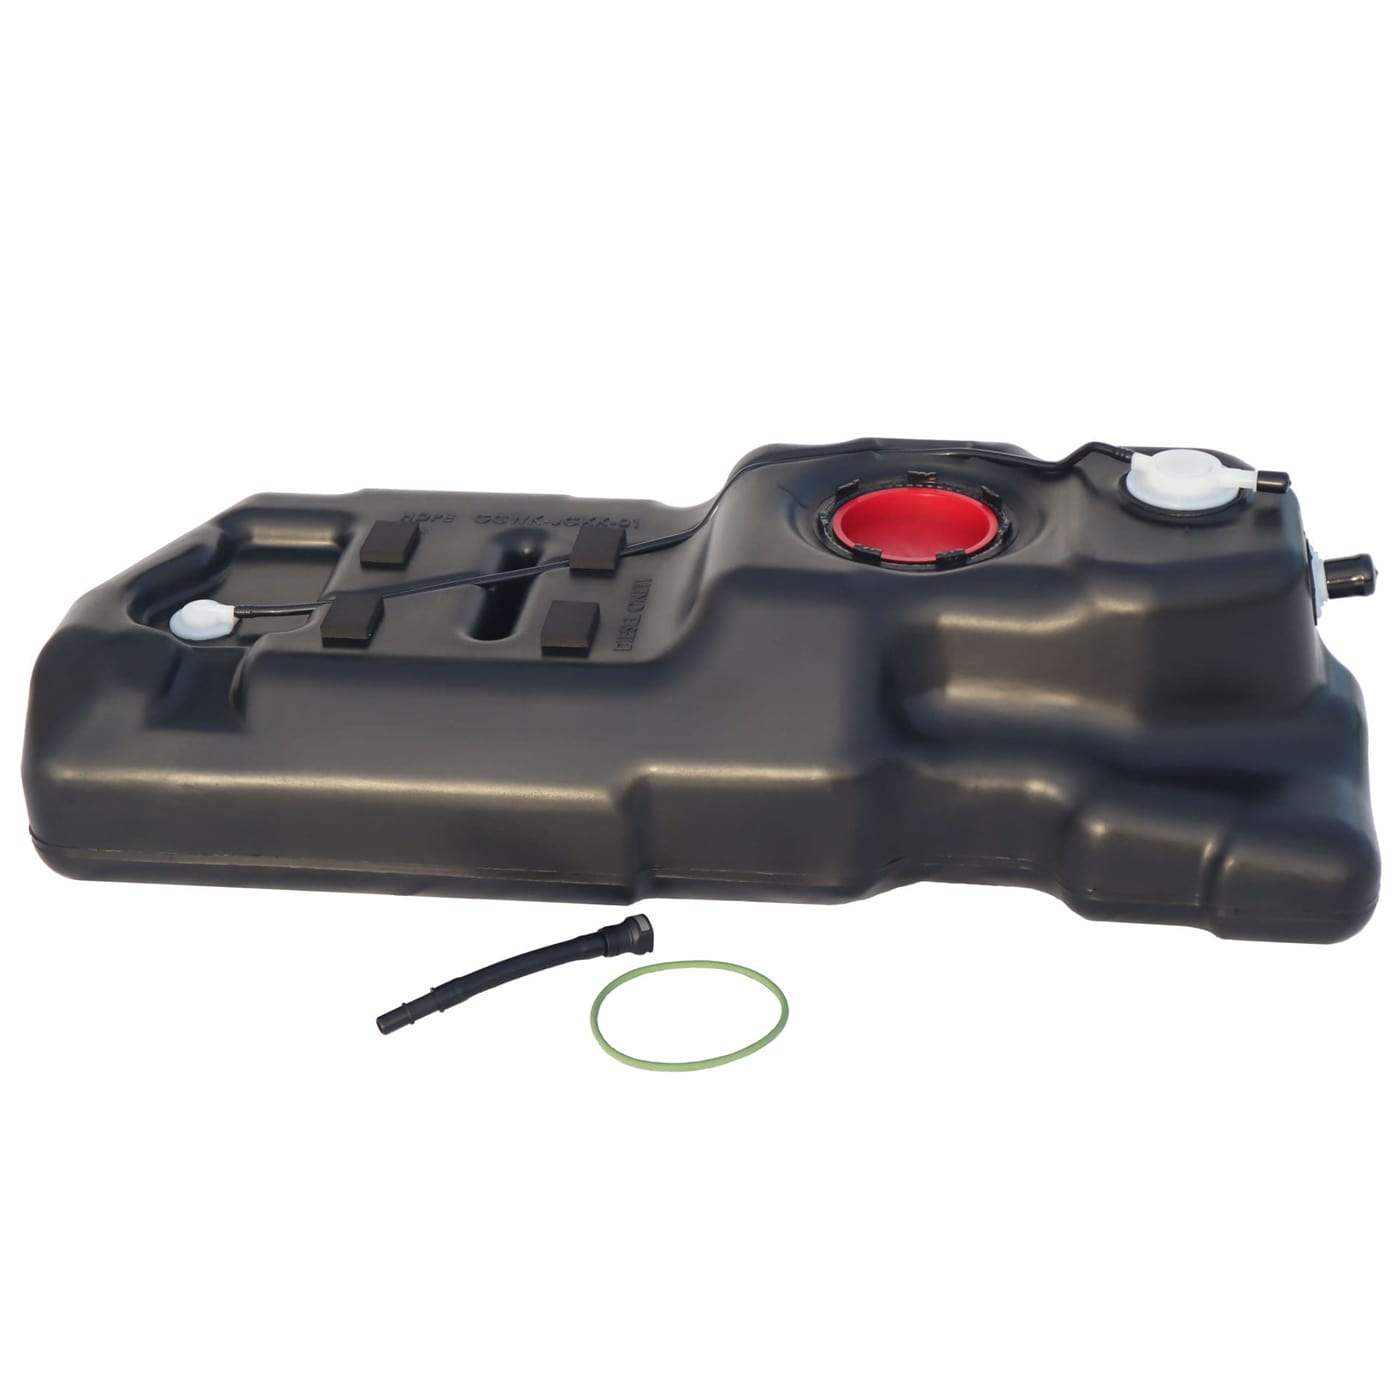
- Install them into the new tank, ensuring proper seals and gaskets.
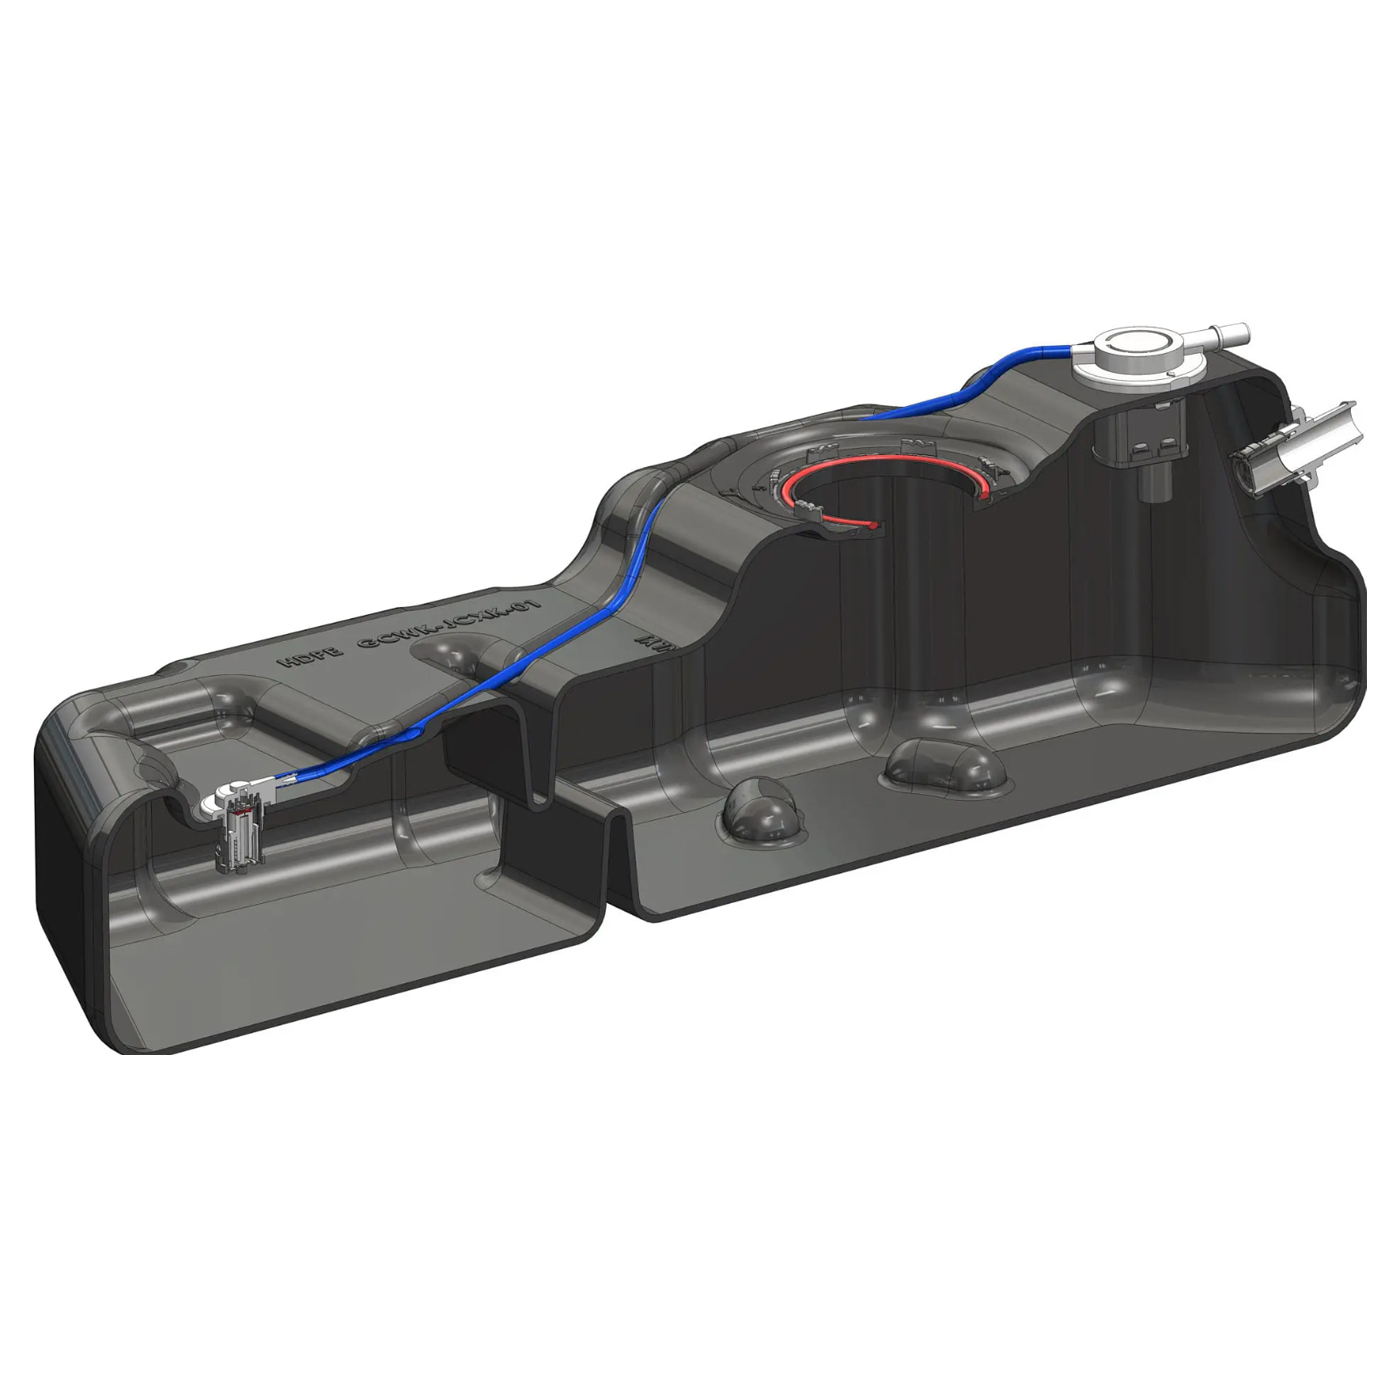
8. Install the New Fuel Tank
- .Position the new tank on the jack.
- Carefully raise it into place.
- Reinstall the tank straps and torque bolts to manufacturer specifications.
- Reinstall the tank shield (if equipped).
9. Reconnect Lines and Electrical Connections
- Reconnect all fuel lines and ensure secure fittings.
- Reconnect electrical connectors to the pump/sending unit.
10. Lower Vehicle and Refill Fuel
- Carefully lower the vehicle to the ground.
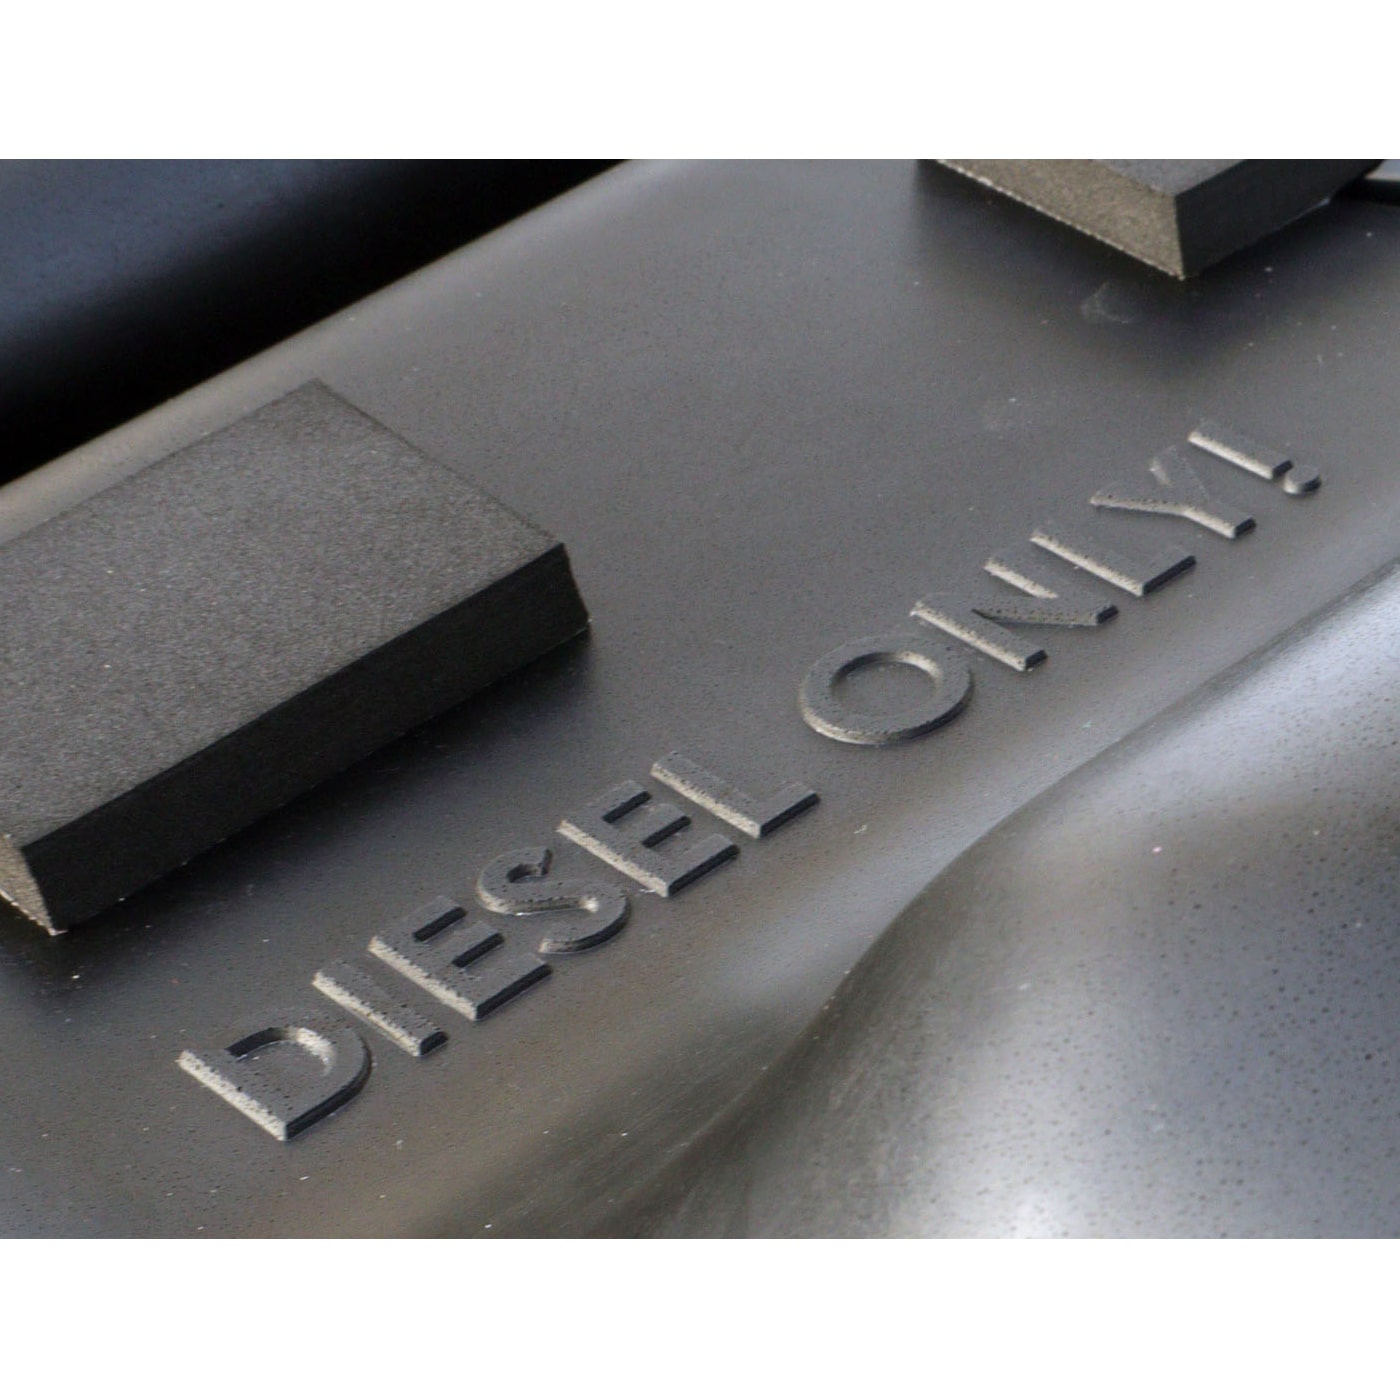
- Add fresh diesel fuel.
- Reconnect the negative battery cable.
11. Test and Inspect
- Turn the ignition key to the ON position (without starting) to prime the fuel system.
- Check for leaks around connections.
- Start the engine and let it idle.
- Recheck for any leaks or warning lights.
Torque Specifications (Reference Only)
Fuel tank strap bolts: ~40–50 Nm (consult service manual for exact torque)
Conclusion
Replacing the fuel tank on a 2005–2010 Jeep Commander 3.0 CRD Diesel requires caution and attention to detail, but following this step-by-step guide will help ensure a safe and successful repair.